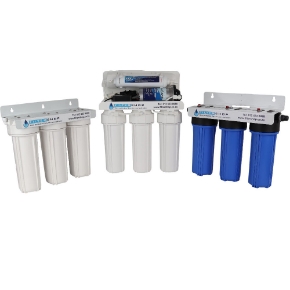
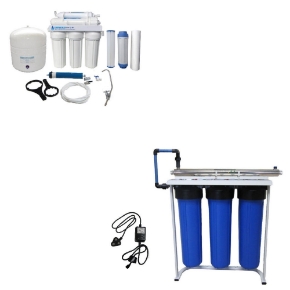
Anti-Bacterial Filter set for DI/RO Systems
Filter Description:
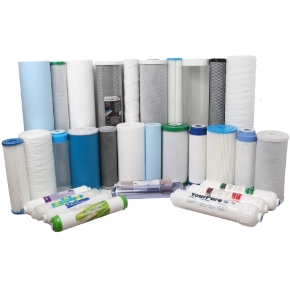
Stage 1: 1um (Micron) Sediment Filter:
This removes particles from the water down to 1 micron.
Stage 2: Premium KDF Filter:
This filter contains activated carbon mixed with KDF. The KDF has anti-bacterial properties and prevents the growth of bacteria within the filter, thus extending its life to twice that of standard activated carbon.
Stage 3: Pleated Filter (0.1 Micron):
This is a physical barrier that will not allow bacteria to pass through. Pleated Filter has replaced the Ultra Filtration Membrane as it dramatically reduces flush times making the system quicker to install and easier to maintain
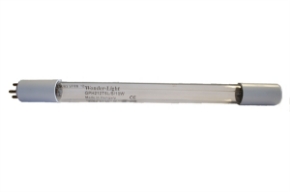
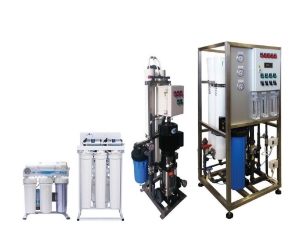
Stage 4: RO Membrane (Optional)
Removes Bacteria, Viruses, Heavy Metals, Pesticides, Herbicides, and Reduce the Mineral Content (TDS) buy up to 96%. This filter has a life span of 2-3 years. This is an optional extra.
Stage 5 to 7*: Replacement Colour Changing Mixed Bed / "DI" Resin (Optional)
The Mixed Bed Resin is color changing going from blue to an orange color as the resin becomes depleted, allowing you to visually see when the resin inside of the cartridge needs to be replaced.
*Depending on the RO/DI system you have, there may be a single refillable shell or up to three refillable shells that will need to be refilled once the mixed bed resin becomes depleted (goes completely yellow in color).
Keep in mind that the replacement mixed bed resin needs to be kept cool and in a moist state, if not being used straight away. If the mixed bed resin drys out it will be damaged and not function. Should you still have some mixed bed resin remaining after filling the refillable shell/s, we recommend keeping it in a sealed container to keep the resin moist and prevent the resin from drying out.
How To Install The Filters
Flushing the system:
This is done by running water through the system until the preservative cannot be detected in a sample glass of water. The preservative leaves a film on the water and also has a bitter taste. If you are seeing this in your water after a new installation, flush and test until no hints of the preservative can be detected. Please note if there is a white color to the water that settles out towards the top of the glass, this is most likely caused by tiny air bubbles in the water. This should subside over time as excess air in the system is removed. The air bubbles in the water will not affect the quality of your drinking water.
Filter Change Call Outs:
This service is solely for clients based in and around the Centurion, Pretoria and Johannesburg areas.
Filtershop now offers you the option to have your filter systems filters be replaced by one of our technicians. Our callout fee is dependent on how far you are situated from us, as we calculate this on a sliding scale.
If you are interested in having one of our technicians come to your home, business or site to have your filters replaced, please contact us via email: [email protected] and we will get back to you with more information.
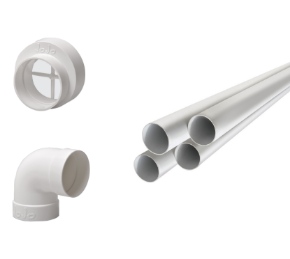
How to remove/replace your filter:
Start by unscrewing the filter housing from the filtration unit. This is done by rotating the filter housing in a clockwise direction (see diagram below). The filter housing will separate from the filtration unit, and you are now free to remove the filter cartridge from the filter housing. To replace your filter: insert the new filter into the filter housing. Be sure to remove any protective plastic wrapping from the filter cartridge before placing them into the filter housing. Check that the black rubber O-rings are in place and fit well on the filter housing. If they seem perished or loose you may want to purchase new O-rings to ensure a good seal. As an option you can add a little bit of Vaseline on the O-rings to make them seal better, this will make it easier to open next time. Take note of the single rubber seal on one side of the KDF. This will need to face upwards to connect and seal at the top of the filter housing. It is important that this is done correctly as the system will not work optimally if the filters are installed incorrectly. Now that your filter is in the housing, bring the housing to the filtration unit and begin to screw the two together. This is done by rotating the filter housing in an anti-clockwise direction. We recommend you tighten by hand as this is usually sufficient to maintain a good seal. If however, leaks are detected, the housing spanner can be used to tighten the filter housings until a good seal is achieved. (Check O-rings are correctly in position before tightening with the spanner) Please take care not to over-tighten the filter housings. This could strip the housing thread and cause your system to fail. It will also make it more difficult to replace filters in the future if they are over-tightened.
When to change your filters:
Filter life span is determined by the quality of the source water that runs through them. So if your source water is of very bad quality, your filters will be doing more “work” to clean the water that is flowing through them. Thus depleting sooner than filters running under good water conditions. So in short each end-users filter requirements will be different as their source waters are different. We advise you to check your filters on a monthly basis after the initial installation to get a feel for the quality of the water in your area. You will see for example, that the stage 1 filter (1um Sediment) is turning brown from the outside towards the center over a period of 12 months. If this is the case your water quality is exceptionally good as these filters generally only have a life span of 4 - 12 months filtering average South African water. If your water quality is very poor you may be replacing the 1um sediment filter every 2 months. So visual inspection of your filters is the best way to determine when to change your filters. For the Carbon filters, the “symptoms” are a little different. These filters are depleted once bacteria have colonized them completely. So in testing, you will want to see if any traces of bacteria can be detected. This is done by physically inspecting the filter cartridges. You want to check for a “slime” on the filters. This is a slippery substance and will feel similar to a mucus of sorts. If this is present on your filter cartridge then bacteria have colonized the filter and a replacement cartridge is required.
Additional Options
Change Standard 1 Micron Melted Spray to Antibacterial Option
The Melted Spray Antibacterial filters like the standard melted Spray type are designed to capture dirt, sediments, visible particles, and bacteria.
However, the Melted Spray sediment filters have had a silver ion additive added to their material, which creates a bacteriostatic function to inhibit the growth of bacteria on the surface of the filter, helping to ensure healthier product water and a longer life span of the filter.
This option is ideal for source waters that have a very high bacterial / organism count and will help to extend the life of the filter.
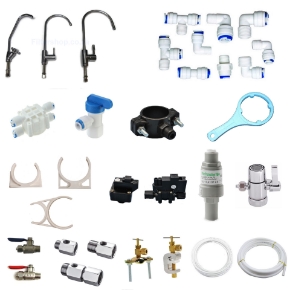
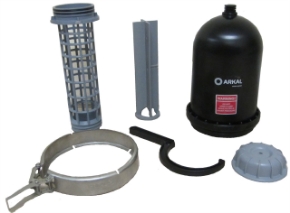
Adding a Housing Spanner
Over time the housing can become tight, and difficult to open by hand. If you do not already have one available to open the housing, we would recommend adding a housing spanner.
The Housing Spanner will allow you to gain more "purchases" on the housing, allowing you to open it more easily.